Do you have an idea that you would like to realize? Contact us to know how we can help you with Prototyping your idea today!
3D Printing and Prototyping For Product Design
Prototyping is a key part of getting your product to market. Though it may seem like an expensive, time-consuming process, with the access to innovative technology today, there are several approaches to ensure a seamless prototyping experience. In this blog, we will provide some helpful tips to successfully integrate 3D printing into your product design workflow.
Additive manufacturing, also known as 3D printing, creates three-dimensional physical items from a computer file. A desired part is built using an incremental technique by placing consecutive layers of polymer until it forms into the desired shape.
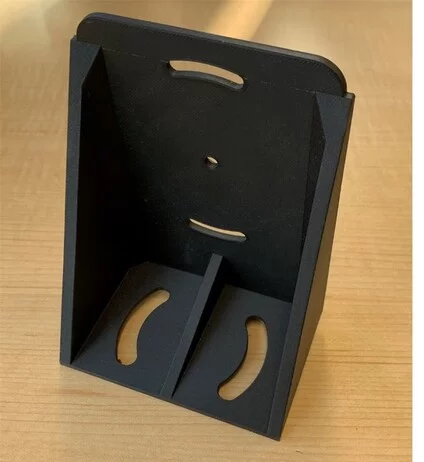
Figure 1: 3D Printed adjustable mount for IR sensor
Let’s start by looking at the advantages and disadvantages of a quick prototyping for your product design requirements.
Advantages of 3D Printed Prototypes
3D printed prototypes are often preferred by companies and design houses. Let’s see what gives 3D printing an edge over other prototyping methods.
1. Flexibility
3D printing provides you with greater flexibility than any other fabrication method. As your product is made from a virtual 3D model developed with 3D CAD, you can generate forms of any level of complexity.
2. Cost-Effective
Additive manufacturing is substantially less expensive than conventional production methods like injection molding, for example, which is highly dependent on the volume. For low volume requirements, like let’s say 20 plastic enclosures, 3D printing would be a more cost-efficient option as compared to injection molding. 3D printing eliminates the need to construct a mold to produce your low volume item, which is a huge benefit.
3. Efficient
You can make many variations, iterations and improvements to a model using 3D printing. Interestingly, the procedure is much quicker compared with the more traditional processes. Additive manufacturing bypasses the process of creating a mold and waiting for the manufacturing process to complete. This method is ideal for rapid iteration and can help speed up the entire design process.
4. Test-Ready Prototypes
Owing to a range of 3D printing ingredients and online 3D printing platforms, advanced polymers are now commercially available. Various materials have been modified for manufacturing and testing purposes. For testing, these materials can be used to develop enhanced working prototypes by utilizing their exceptional qualities. For example, ABS is the most used 3D printing polymer. It has high strength, is reusable, flexible and shock resistant. However, PLA or polylactic acid is biodegradable and more environmentally friendly than ABS. There's also ASA, which is like ABS, but is more resistant to UV rays. Though it is important to note that in a closed printing chamber, ASA emits styrene, which is harmful to health.
5. Mold for Vacuum casting
A strong 3D print can be used as a 3D Mold in vacuum casting process making it versatile. Using steel for molds can be expensive especially when production volume is only a couple 100 or less. Making a master mold for vacuum casting using 3D printing is a great alternative to steel mold (machine mold). You can also generate numerous mold copies from a 3D printed master part via vacuum casting. For this, first, 3D print a master part. Then, cast silicone around it in a vacuum chamber, making sure no air bubbles are present. Then precisely cut the mold and take out the master part. You now have a silicone mold cavity to make numerous copies of your piece.
Disadvantages of 3D Printed Prototypes
1. Restricted build size
3D printers have limited printing/build chamber space. While suitable to create small parts and components, larger pieces need assembling, resulting in more joints and a lack of structural integrity.
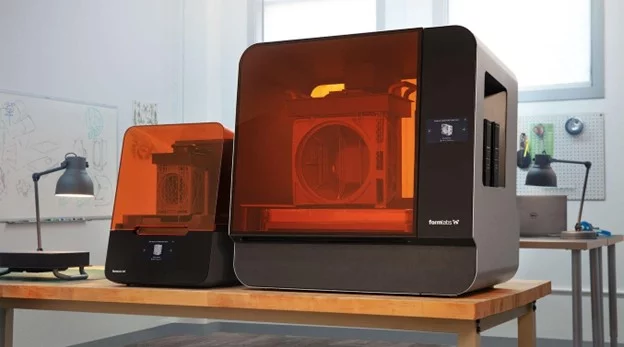
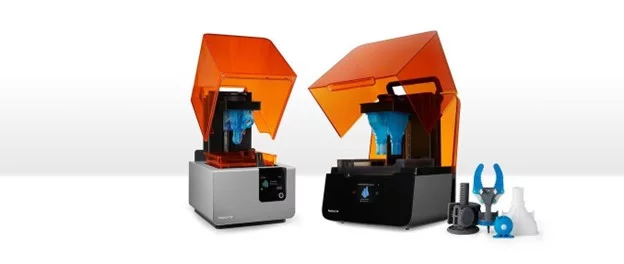
Figure 2: Form 3 vs Form 3L SLA printer. Image source: Formlabs
2. Large Production Volumes
3D printing is the best solution for small volume production or for a couple of prototypes for R&D. Unlike injection molding, 3D printing is not a great choice for mass production or large volume production. Even running multiple 3D printers, 24x7, will still not outmatch the speed of conventional manufacturing processes such as injection molding or vacuum casting.
3. Post-processing
One of the biggest challenges of 3D printed prototypes is that they all require some amount of post- processing. You can 3D print complex geometry that are not manufacturable using conventional processes, but 3D printing complex shapes involves a lot of post-processing work, removing break away support material and sanding out rough surfaces. Post-processing can be time consuming and adds extra cost to the overall price per product. Also, in terms of quality, surface finished parts will not be as good as vacuum casted or injection molded parts.
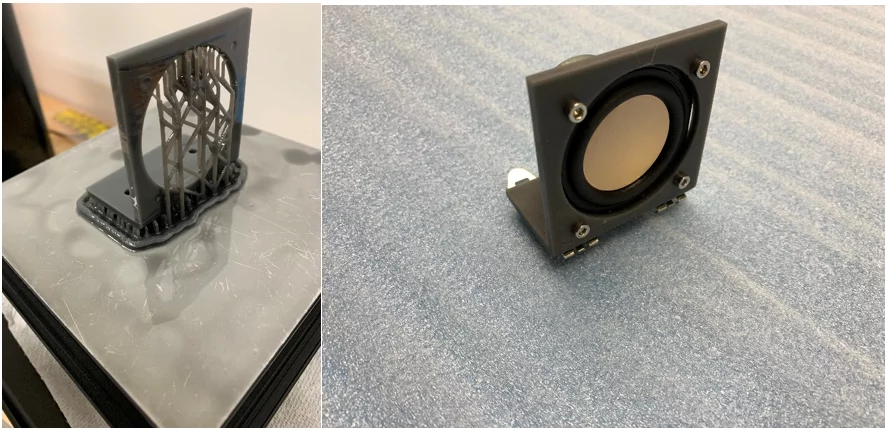
Figure 3: Before and after postprocessing of SLA printed part
4. Structural Integrity
3D printed components consist of several layers of material, consecutively layered, and cured with different methods. These layers usually follow a specific geometric orientation depending on the type of layer pattern selected during slicing (Slicing is the process of generating programming file using a specific software for 3D printing. It literally means slicing the 3Dmodel into thin consecutive layers). So, they are often susceptible to tangential or shear stresses, where molded materials have more integral consistency in this case.
Things To Consider Before Prototyping
3D printing is quickly becoming the preferred choice for rapid prototyping, thanks to its swift output and flexibility. Here are a couple of points that engineers and designers interested in using 3D printing for manufacturing should keep in mind before starting production:
1. End Product
The usability of the 3D printed item must always be considered before undertaking any prototyping efforts. When you require your additive manufacturing to match the end product's visual appearance, you will want to use a technique and substance that has higher clarity, or the prototype will have to be post-processed for appearances. If you want your prototype to perform precisely like the end-product, you will need to use a 3D printing system that can print higher resolution and finer layer height.
2. Printing Approach
In additive manufacturing, geometry is constructed by dispensing and layering melted filament or powdered material. There are several types of 3D printing technologies available based on the level of accuracy needed.
- FDM (Fused Deposition Modeling): These printers are quite popular and are reasonably priced. They utilize a polymeric thread, heated & dispensed one layer at a time resembling the functioning of a hot glue gun. It is suggested that you utilize this technology to create preliminary prototypes or for low volumes. Since FDM printers use some of the most widely available polymers like ABS and PLA, one can easily create high-quality, inexpensive models.
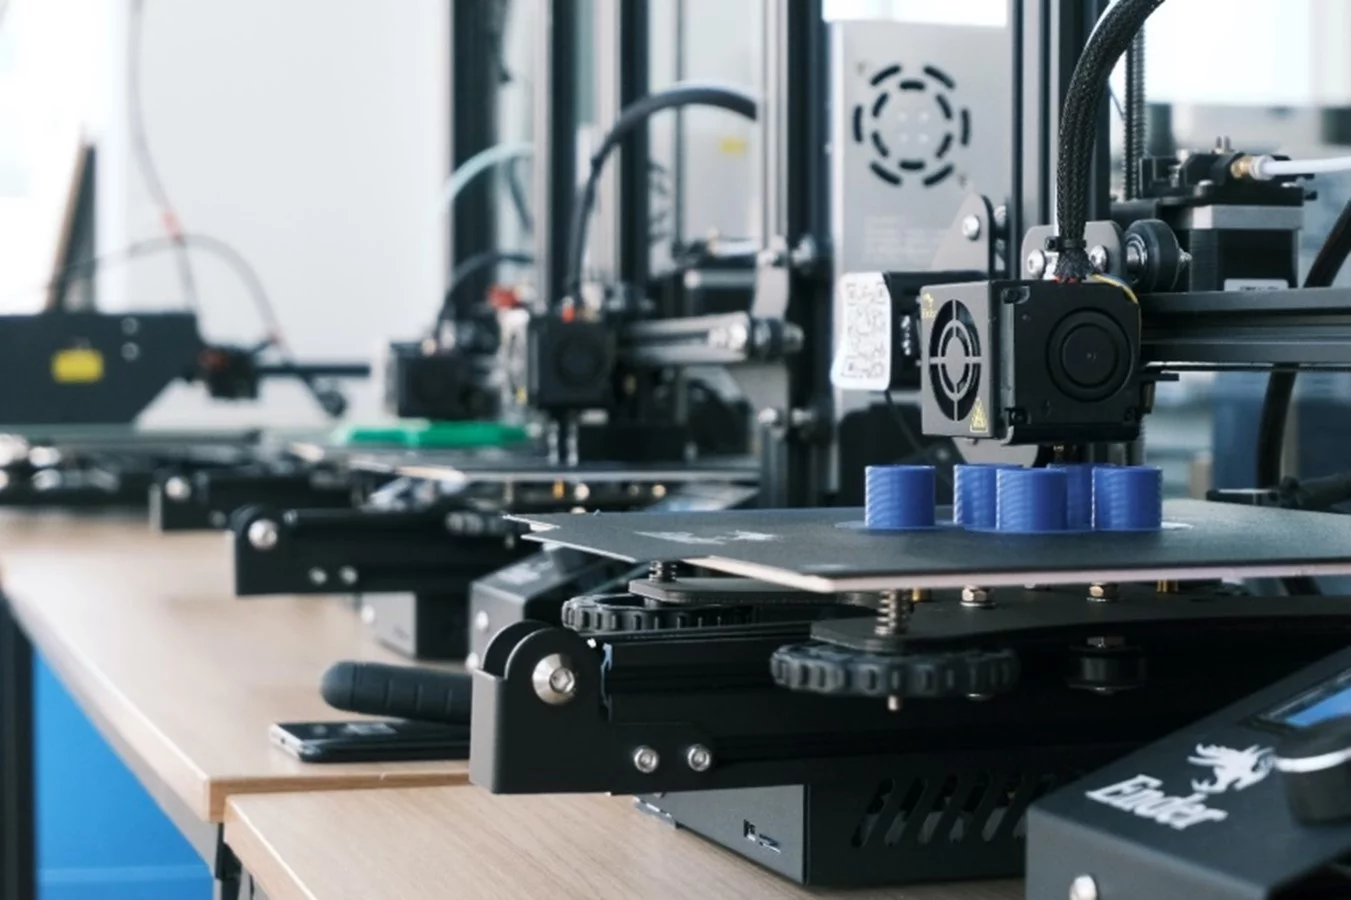
Figure 4: FDM 3D printer
- SLA (Stereolithography): SLA 3D printing is an additive manufacturing technology that employs the principle of using a light source to cure photopolymers (liquid epoxy) into hardened plastic. SLA printers consist of a container full of liquid epoxy into which a base dips and rises as UV rays set each layer. The procedure continues till the 3D model is ready. It is more expensive than FDM printing, but is ideal for producing high-resolution, high accuracy miniature, precise parts.
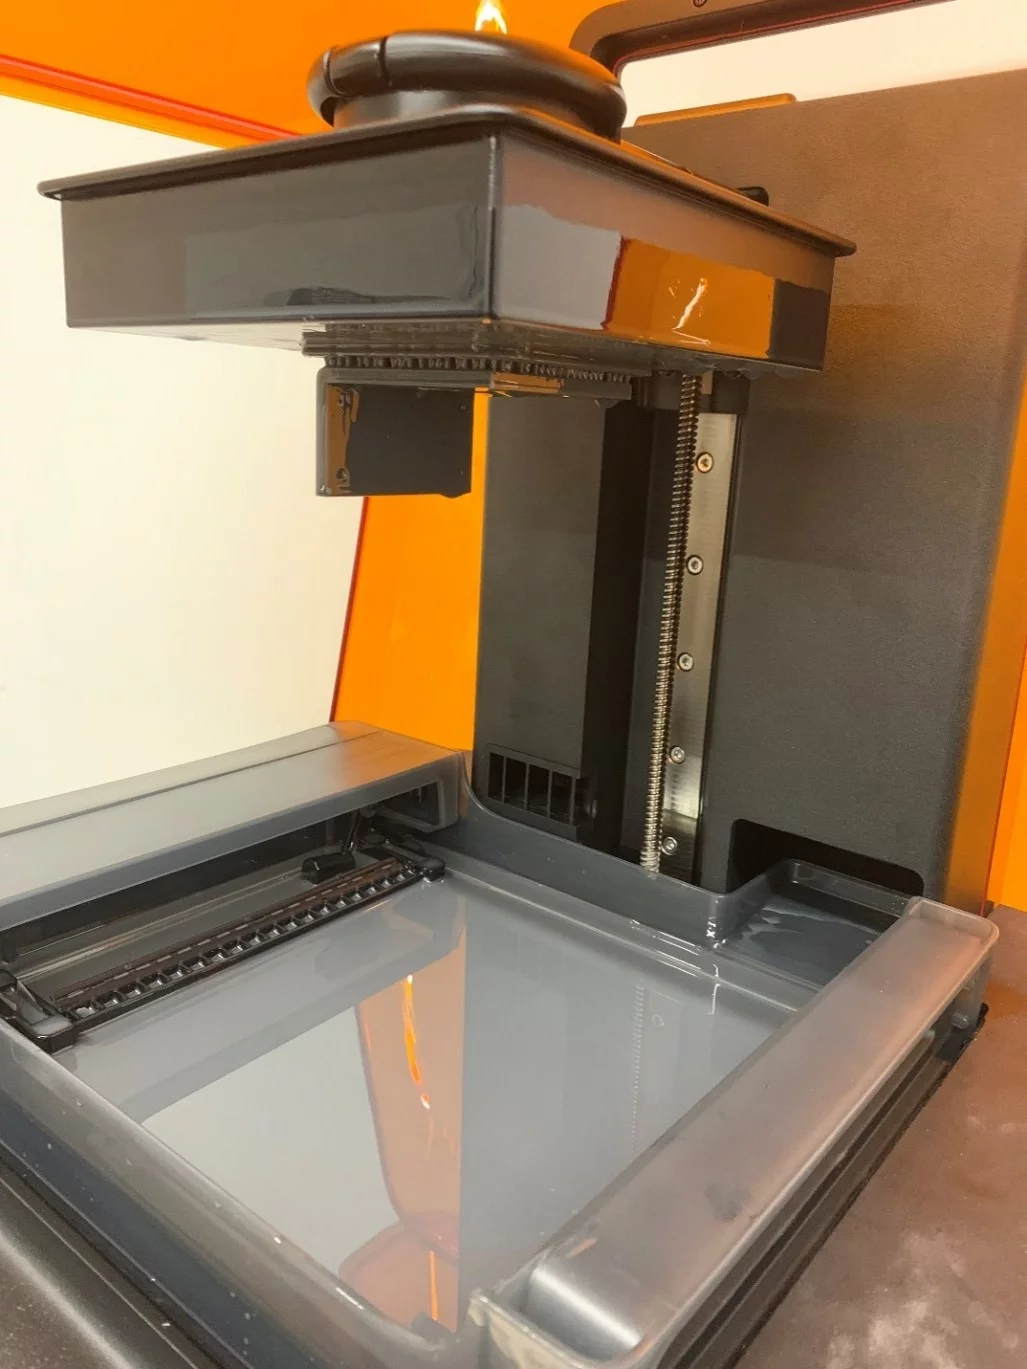
Figure 5: SLA 3D Printer
- SLS (Selective Laser Sintering): This technology involves the use of high-power lasers to sinter polymer powder into a solid 3D model structure. Because it's a relatively sophisticated 3D printing technology, it's best for high-end production prototypes. It is a lot more expensive than FDM or SLA and generates prototypes with high strength, stiffness, and superior mechanical properties.
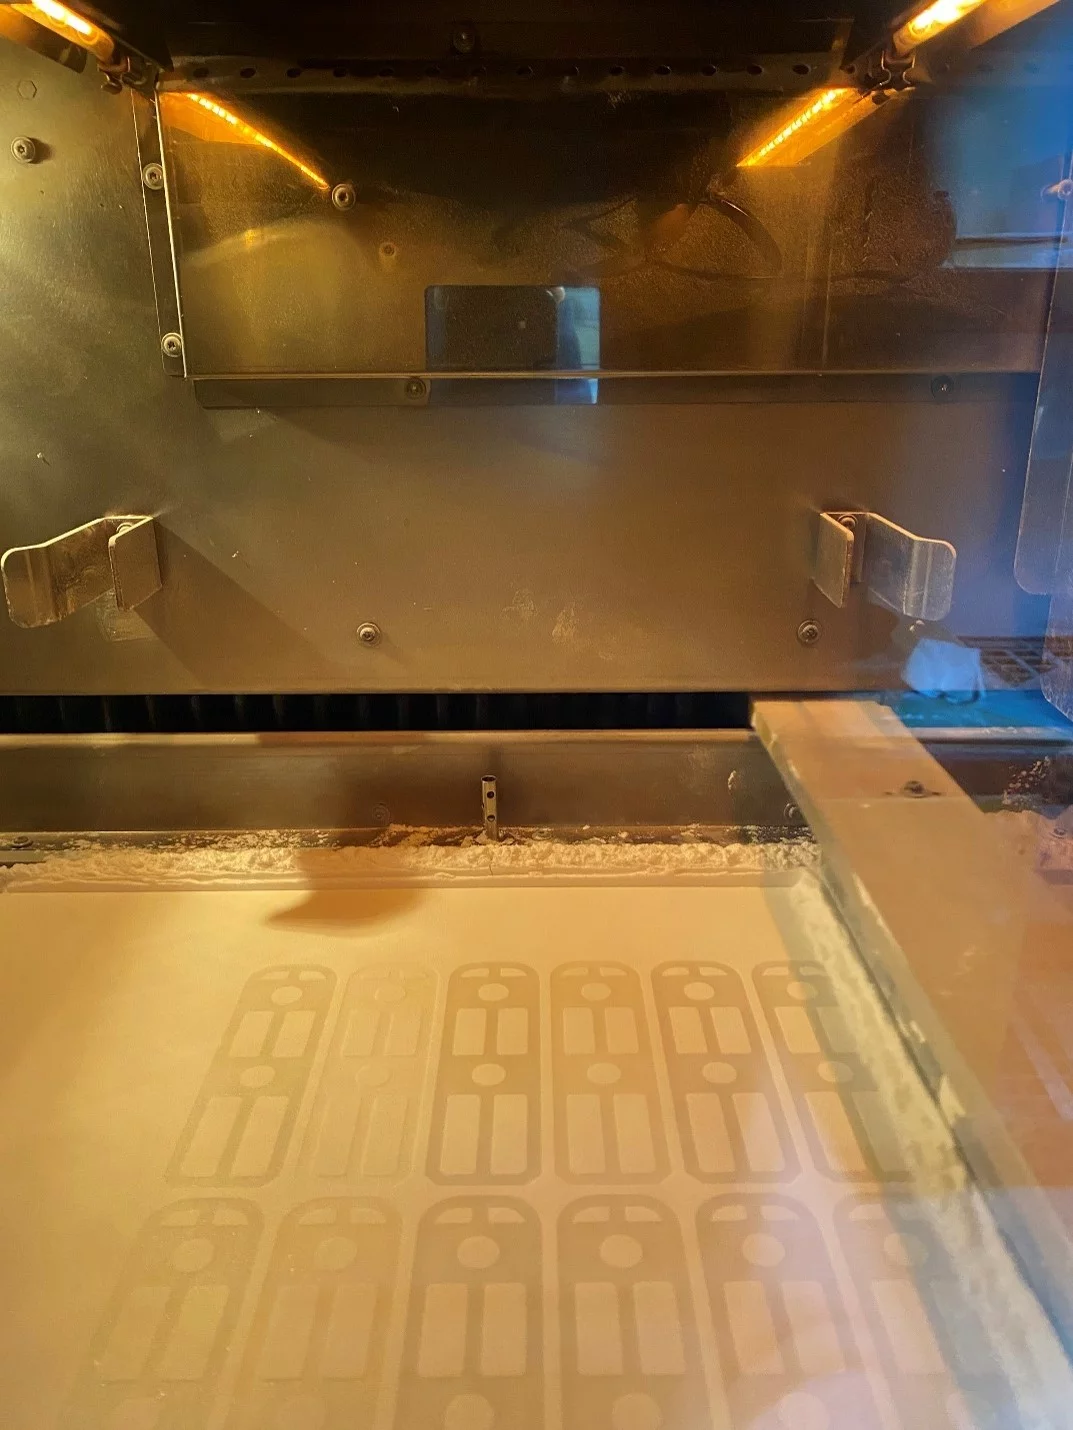
Figure 6: Inside view of SLS 3D Printer
3. CAD File Formats and Design Guidelines
Almost all 3D printing processes utilize .STL files to generate 3D printing tool paths. Although original CAD files can be exported to .STL, complications may emerge when conversions take place outside of the primary software. So, it’s recommended to convert your CAD to .STL files to ensure successful print.
Generally, Additive Manufacturing is capable of extremely detailed parts. It can be precise up to 1/1000 inch, but compliance control isn't as tight as it is with some other production procedures. The lowest feature size for each operation varies between 0.010′′ and 0.030′′. So, for concepts like friction fittings and line-to-line geometries, planners must allow for minor dimensional deviations or prepare to use CNC trimming after assembly to meet the required tolerances.
Printing Your First 3D Prototype
If you are ready to employ additive manufacturing technology to build your designs but are not sure where to start, using a third-party 3D printing platform can be a good option choice depending on volume and requirement.
For example, say you want to build your samples at a low cost, but buying a professional 3D printer is out of the question, by outsourcing the task, you will have access to industrial-grade equipment and resources, while additionally gaining professional tips from 3D printing experts. Here are some tips to follow when preparing for your 3D print.
1. 3D CAD Files
First, the 3D model must be created which can be accomplished with the help of design firms that specialize in the creation of 3D CAD models. Creating 2D drawings is also recommended, particularly if the items have significant level of precision. You will also need to define the operating conditions of your part, the expected life, and any aesthetic requirements. After you've prepared the 3D designs and specs, you can proceed to material selection and printing.
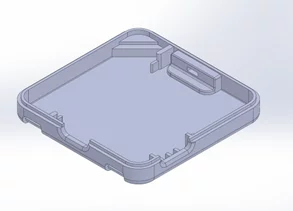
Figure 7: Plastic enclosure design
2. Costs
Usually, a prototyping firm analyzes and estimates the cost of the rapid prototyping project based on the volume and functional qualities of the components. The substance, texture, and layout of the models are the most prominent features. This costing stage further allows you to ensure that the parts are feasible. You can now adjust your 3D files and wireframes based on your budget. A 3D CAD file is required to precisely estimate a rapid prototyping job.
3. Production
Next up is production. Remember that 3D prototyping is a high requirement job. So, ensure that the printer is on stable, leveled ground, and free from vibrations. Some printers come with a resume function which is very useful in the event of power outage but not all printers do, so make sure you have access to stable and uninterpreted power supply. If you’re producing a complex geometrical shape, try to do it in parts with base plates.
4. Testing
A test phase following production is required to check if the prototype is flawless and satisfies the required regulations. Some of these checks include:
- Geometry of prototype
- Dimensional errors
- Color and other visual checks
- Mechanical and physical characteristics
- Stress test if needed
It is important to meet all the defined criteria for a part to be considered successful. If not, it is important to head back to the drawing board to understand the issues and create necessary adjustments before reattempting.
Conclusion
Prototyping using 3D Printing is a step that can be successfully integrated with the traditional “design, prototyping, testing, manufacturing” cycle. Not only does it allow for the rapid development of concepts and ideas, but it is also a useful tool to deliver projects on time and within budget. It’s no wonder rapid prototyping using 3D printing is redefining product design and manufacturing as we know it today.