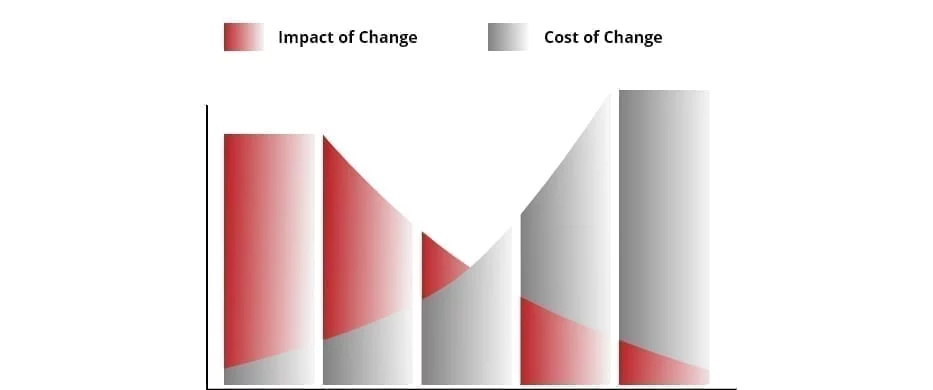
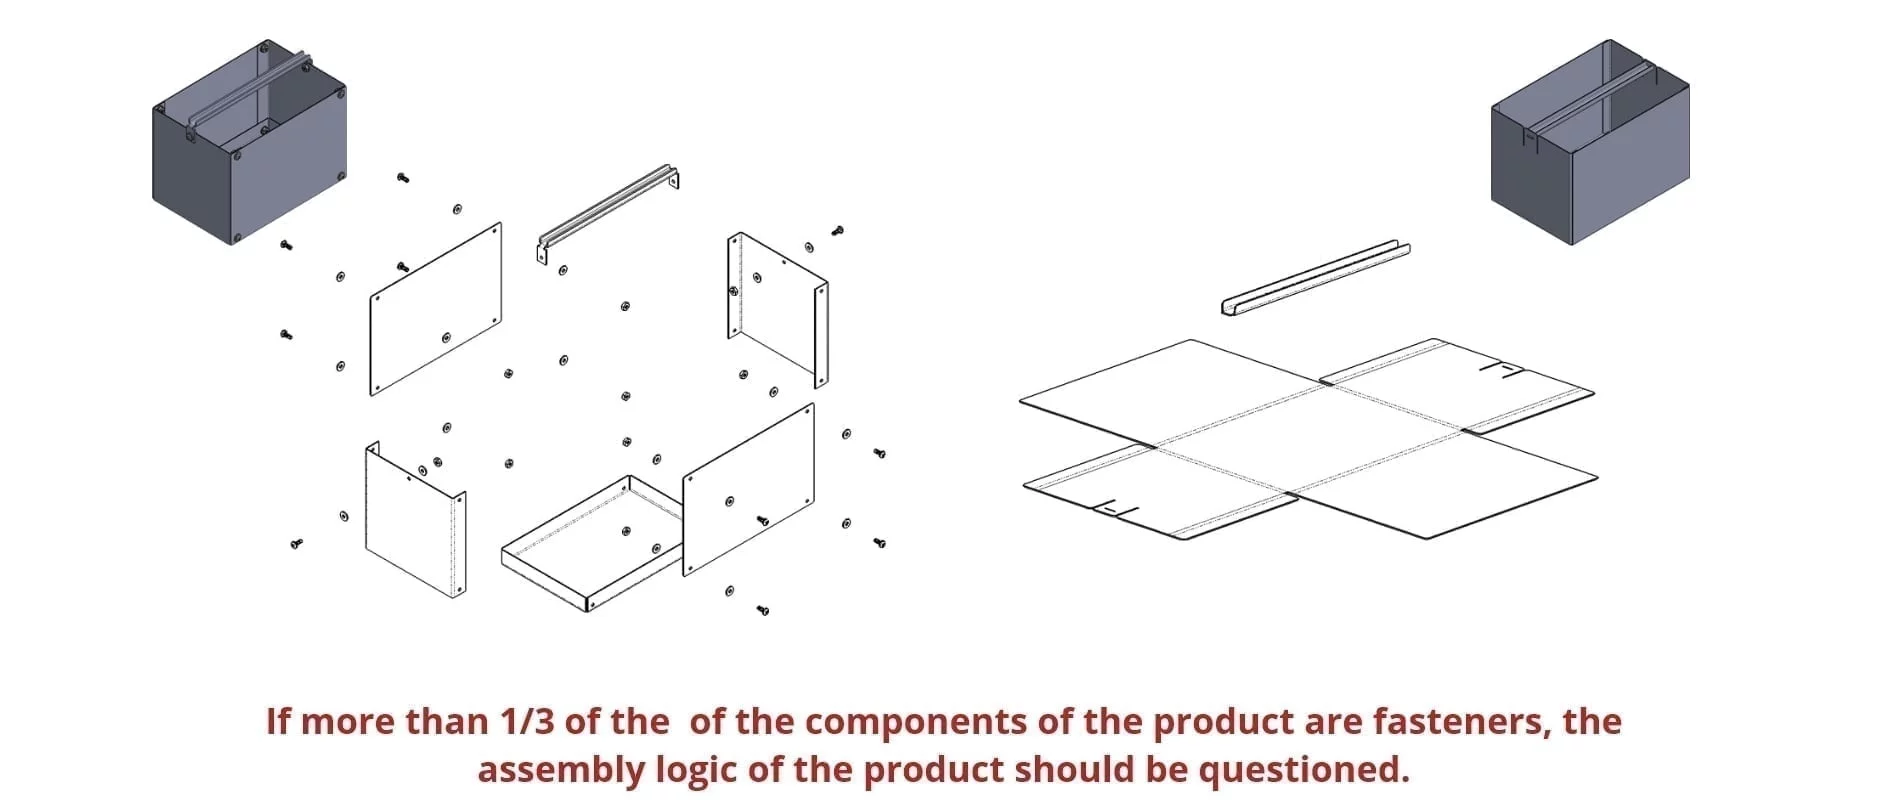
While introducing DFM into your workflow may seem daunting, like any process change the more you encourage its use, the more it will become second nature—and your designs will improve along the way. To help make the process a little easier, we recommend these initial steps to begin incorporating DFM into your workflow.
Step 1: Define your requirements
Like all engineering design processes, everything stems from your product requirements. If this is sounding like the beginning of a typical design process... that’s because it is! The information that you normally would use to design is the same information that will drive your manufacturing decisions. DFM just tells us to consider it in a different light. When defining requirements, don’t forget to look beyond the usual function-based requirements of “What must this product do?” Instead, also consider manufacturing parameters like the rate/volume of production, intended per-part cost, alignment with surrounding assemblies, and industry/client standards.
Step 2: Select your materials and process
Material selection, from both a manufacturing and functional standpoint, is a huge milestone in your design process, however, the choice cannot be made in a vacuum. We recommend choosing both the material and the fabrication process at the same time. This simple addition to the usual thought process will force you to think about (and hopefully document) the additional considerations that come along with your given material.
Thinking of making a steel structure out of thin sheetmetal? Pause and consider the process! Think back to your manufacturing requirements. If you're looking to do production runs of tens of thousands of units per year, your design will likely include stamped components which require completely different optimizations than if you intend to make just five units a year and will use manually bent components. Thinking about welding that sheetmetal? You may want to think about warpage, or analyzing the stress in a heat-affected zone.
By remembering to define your process with your material, as you design you can keep in mind the specific nuances inherent with that manufacturing process. This allows you to make better design decisions which will pay dividends down the line.
Step 3: Reach out
Regardless of whether this is your first year in the field, or if you lost count a few decades ago, there is always more to learn. Once you have considered your requirements and chosen the material and process, reach out and talk to your suppliers and manufacturers. Often they are more than happy to speak with you about difficulties with your past designs, or lessons learned from similar products. This knowledge is invaluable, as it allows for personal growth, and exposes you to other perspectives on your creation that you may never have been exposed to. It also helps create relationships with members of your community and can lead to small design changes that pay huge dividends on the shop floor.
Don’t stop at fabrication, though. Reach out to your factory floor and assembly associates, too. Often they can help you improve your design, and give you tips on assembly order, clearances, and component supply.
Step 4: Iterate
This is the most important step. Engineering design is not a linear path, and each project is a unique cycle of progress forward and marathons back. Iteration is what helps make products truly great so remember not to get discouraged! Whenever you face a setback, always keep manufacturing in mind. Think back to your manufacturing requirements, material and process choices, outside advice, and let that guide you.


